Monday, 27 April 2015

Share a Little Happiness !!!:))

Sharing a little happiness.....one more cross stitch done :) I started this last year, not sure when, and then ran out of one of my favorites, shade 35 (Anchor) and later when I got that, the shade turned out to be unlucky for me . So it went into 'not-so-interested' pile for sometime . I took this out few days back and started working on it again after I had forgiven that color .


I unabashedly broke the rules of stitching in this design :) I changed the entire theme, from 'Chunky- antique' to 'Funky-new' :D 

Sometime back, I had stitched on 10 count aida fabric and I used 6 strands as the design was sparse. Not sure, how I overlooked the stitching instructions for this one to use 4 strands, I ended up making it even chunkier by stitching with all 6 strands . 

Also I did not know that the chart will show the same symbol for quarter and three-quarter stitches and instead of making three-quarter, I stitched up only one-quarters and ended up with rough edges :( So I made it up by outlining even when it wasn't mentioned and that too with a color of my choice :)

This is how the original design is.......may be, antique lovers would like this version .


But I wanted some more colors to that happiness message . I ended up with a riot of colors :) It might be looking cluttered but then I am fine with its funky look .


The design area is around 12" x 12" and I am thinking of finishing it into a cushion . You can find the chart titled 'Happy Days' by Felicity Hall in the Cross Stitcher  magazine - July 2011, issue 241.


I will be away for a week to home town with my family to drop my mother back home . I am not sure whether I will have Wi-Fi connectivity there or not . I am taking data card with me . Hope it will work .

So, did you like my chunky-funky finish? :)

Have a great week !
Preeti 

Wednesday, 22 April 2015

My innocent stash !! :))

I got some stitching and yarn stash yesterday :) It is so nice to open a packet full of something even though we have paid for that happiness .  Also, I have some progress to share on Kitty Litter project .

Turkish Nako Vals Yarn. I plan to make a Crochet top or Bolero for Anshita.

My first quilting ruler . I may not do quilting but I guess I will do appliques and for the same reason I got the smallest ruler. My Self healing mat is small too. So this ruler is good for cutting small pieces.

Needle threaders for my mother and her friends and some crochet safety pins for me .

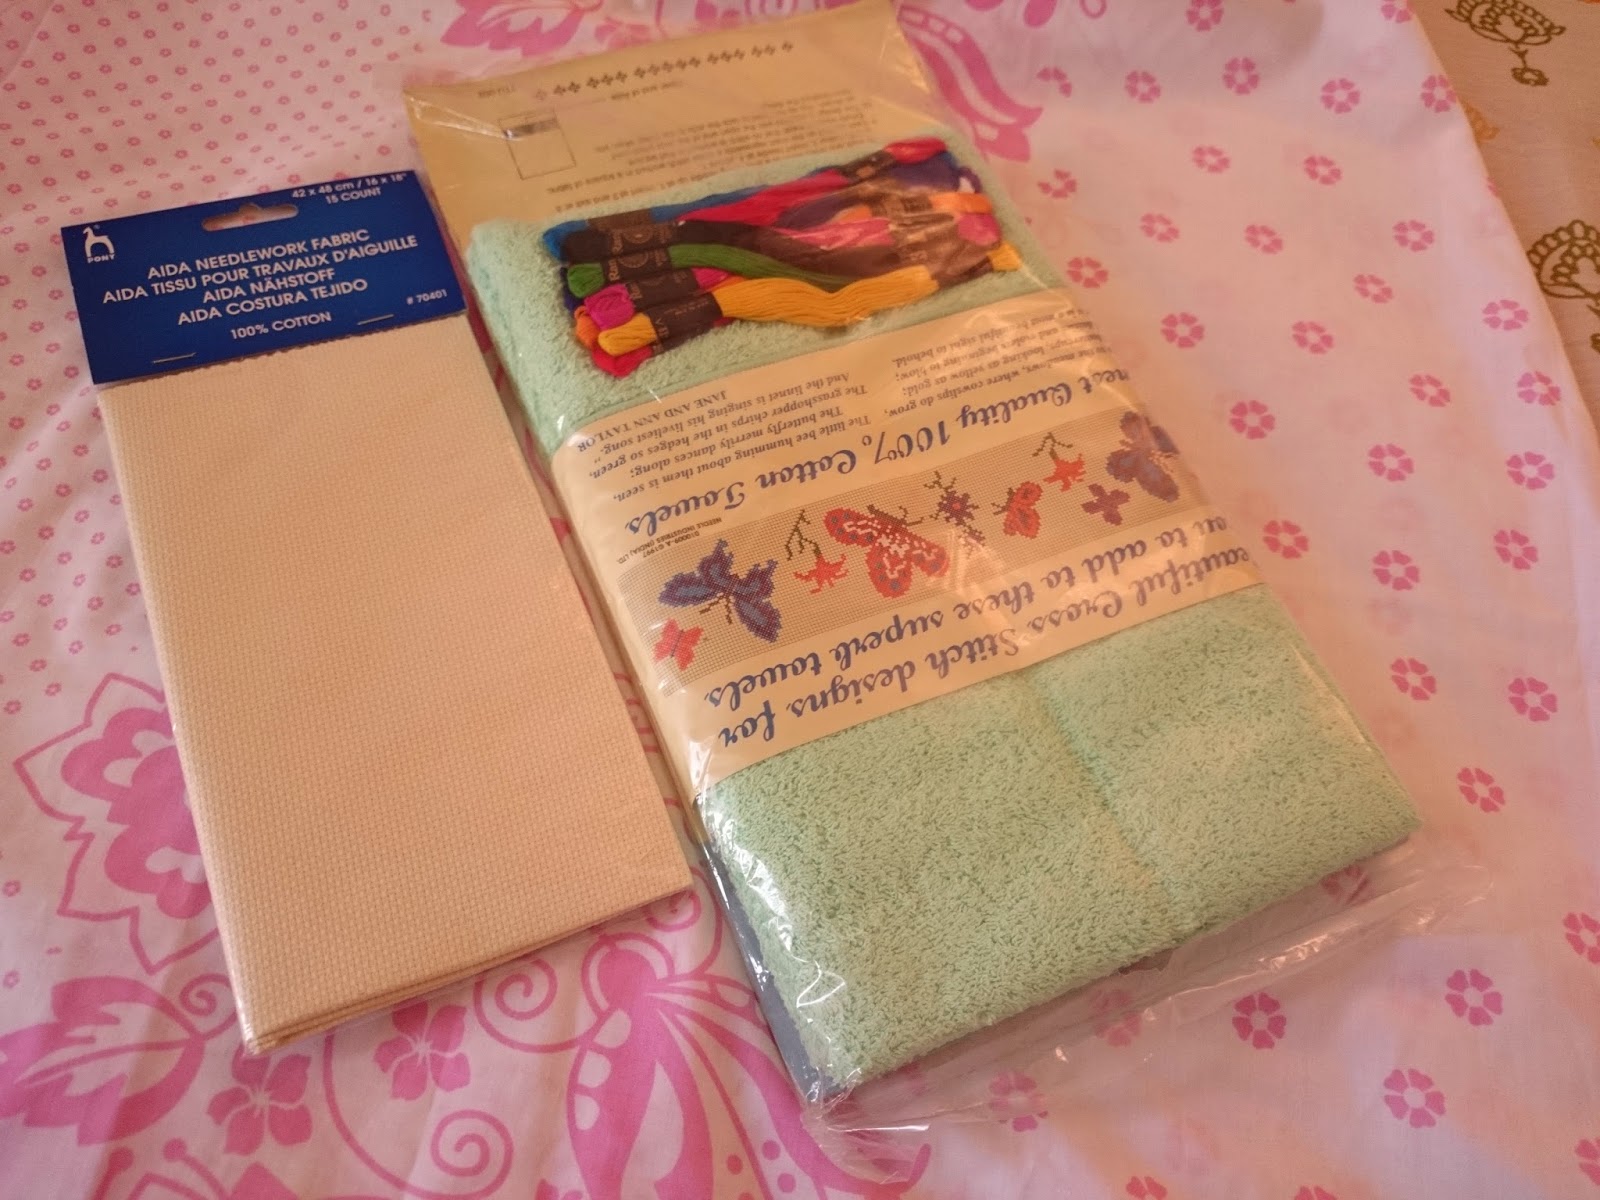
Cross Stitch aida fabric cream color, 15 count to gift some one.
Ready to stitch towels with attached aida fabric .

Snap fasteners Nickel and transparent .
The thread like item is knitting-in elastic. It is thin like a thread and we can use it along with the yarn length to get the required elasticity. 

Pony Colored eye needles- tapestry, Crewel and Chenille. And some wool needles.
The tapestry colored eye needles are color coded as per the size of the needles. They are from size 22 to 28. You can read the review here .

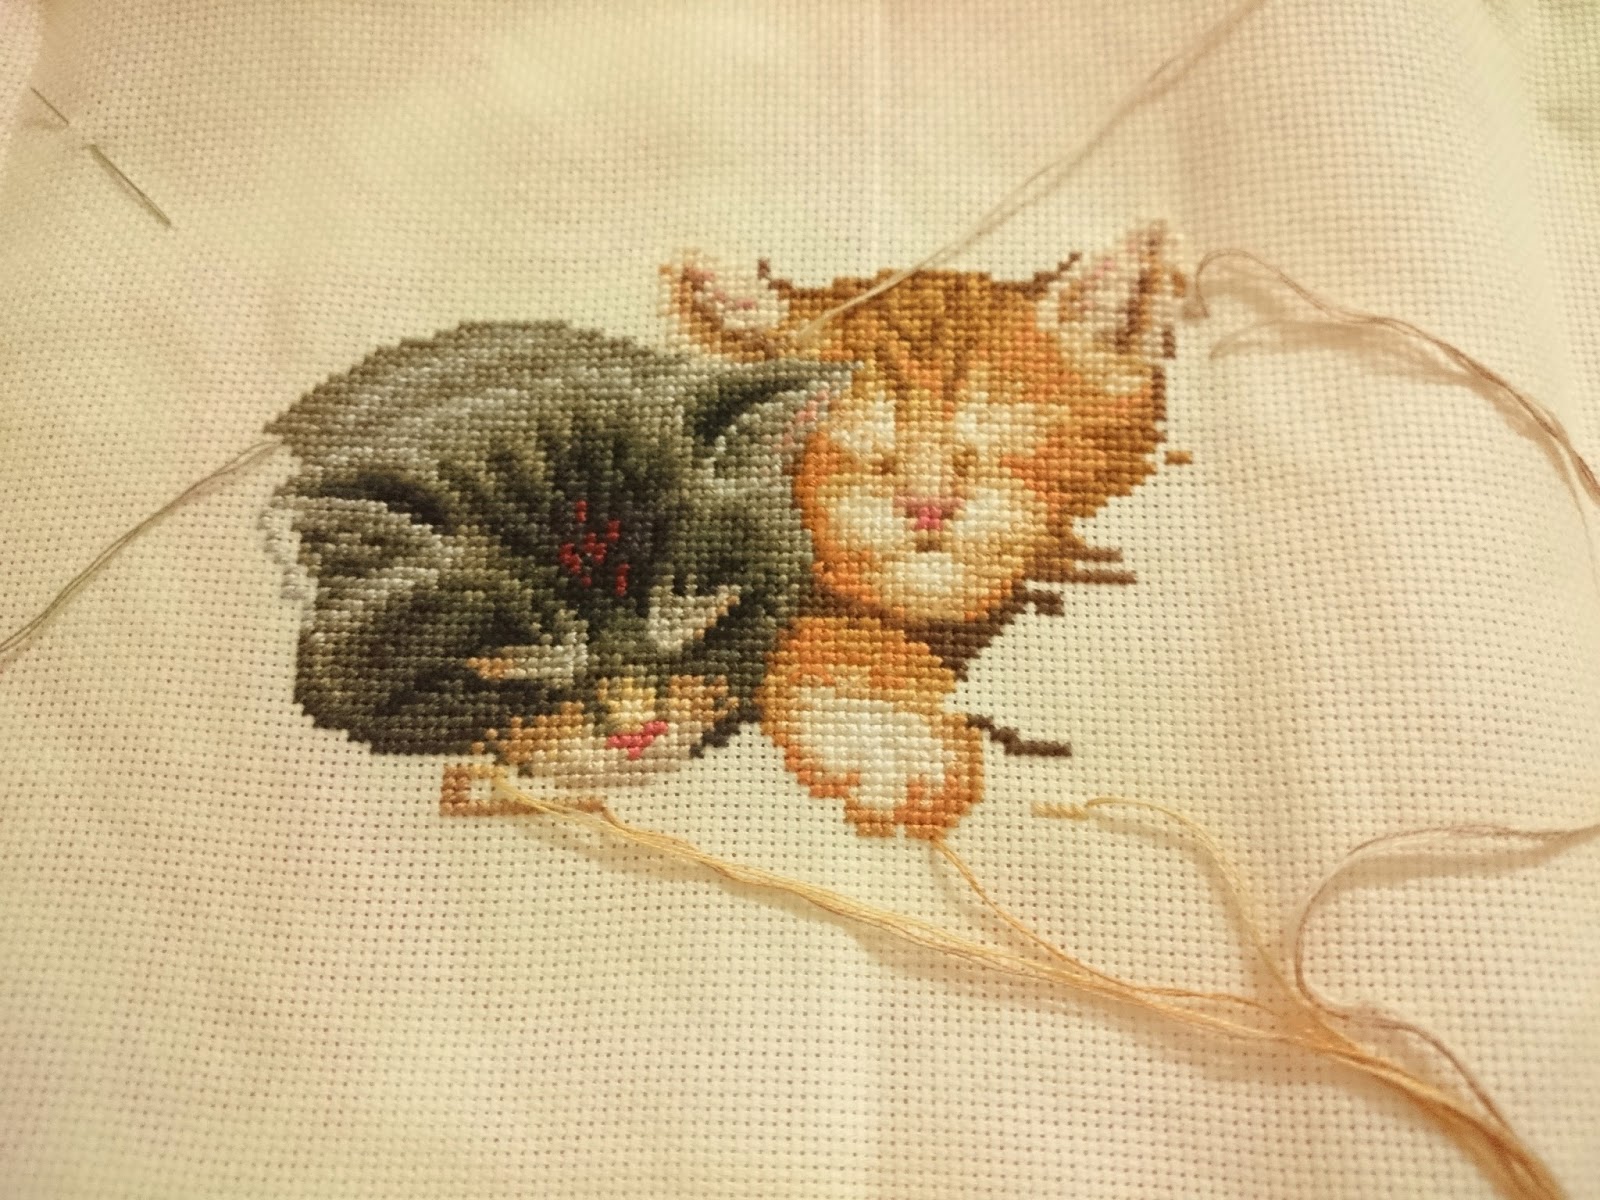
My progress on the Kitty Litter project . One more cat done . Their eyes are closed which will be visible when the back stitching is done . This is how they will look when done . Which one do you want me to stitch next. The one next to the black or next to the brown ?


I call my stash 'Innocent,' because look what Raj got for himself few weeks back.......

Audi Q3 Premium Plus . 


Anshita loves modelling for his car :) These German cars here cost double than what it is in the US. He paid around $75k for this . So you can understand that now we are on the verge of  bankruptcy and before that I want to lay my hands on as much stash as I can collect ;) 

Thanks for seeing! :)
Preeti


Sunday, 19 April 2015

Home Sweet Home - part 2

Hope you are having a great weekend !! I have titled the post as 'part 2' because I have already posted about Anshita's room in another post here .

I have so many non-crafty things to share but just could not find time to group the pictures I had taken long back . Again, since I have designed the interiors, so I cannot totally call it as my non-crafty affair :)

There are still many fittings that need to be done, many corners to be decorated . This one is about the drawing, dining & living, and the front balcony.

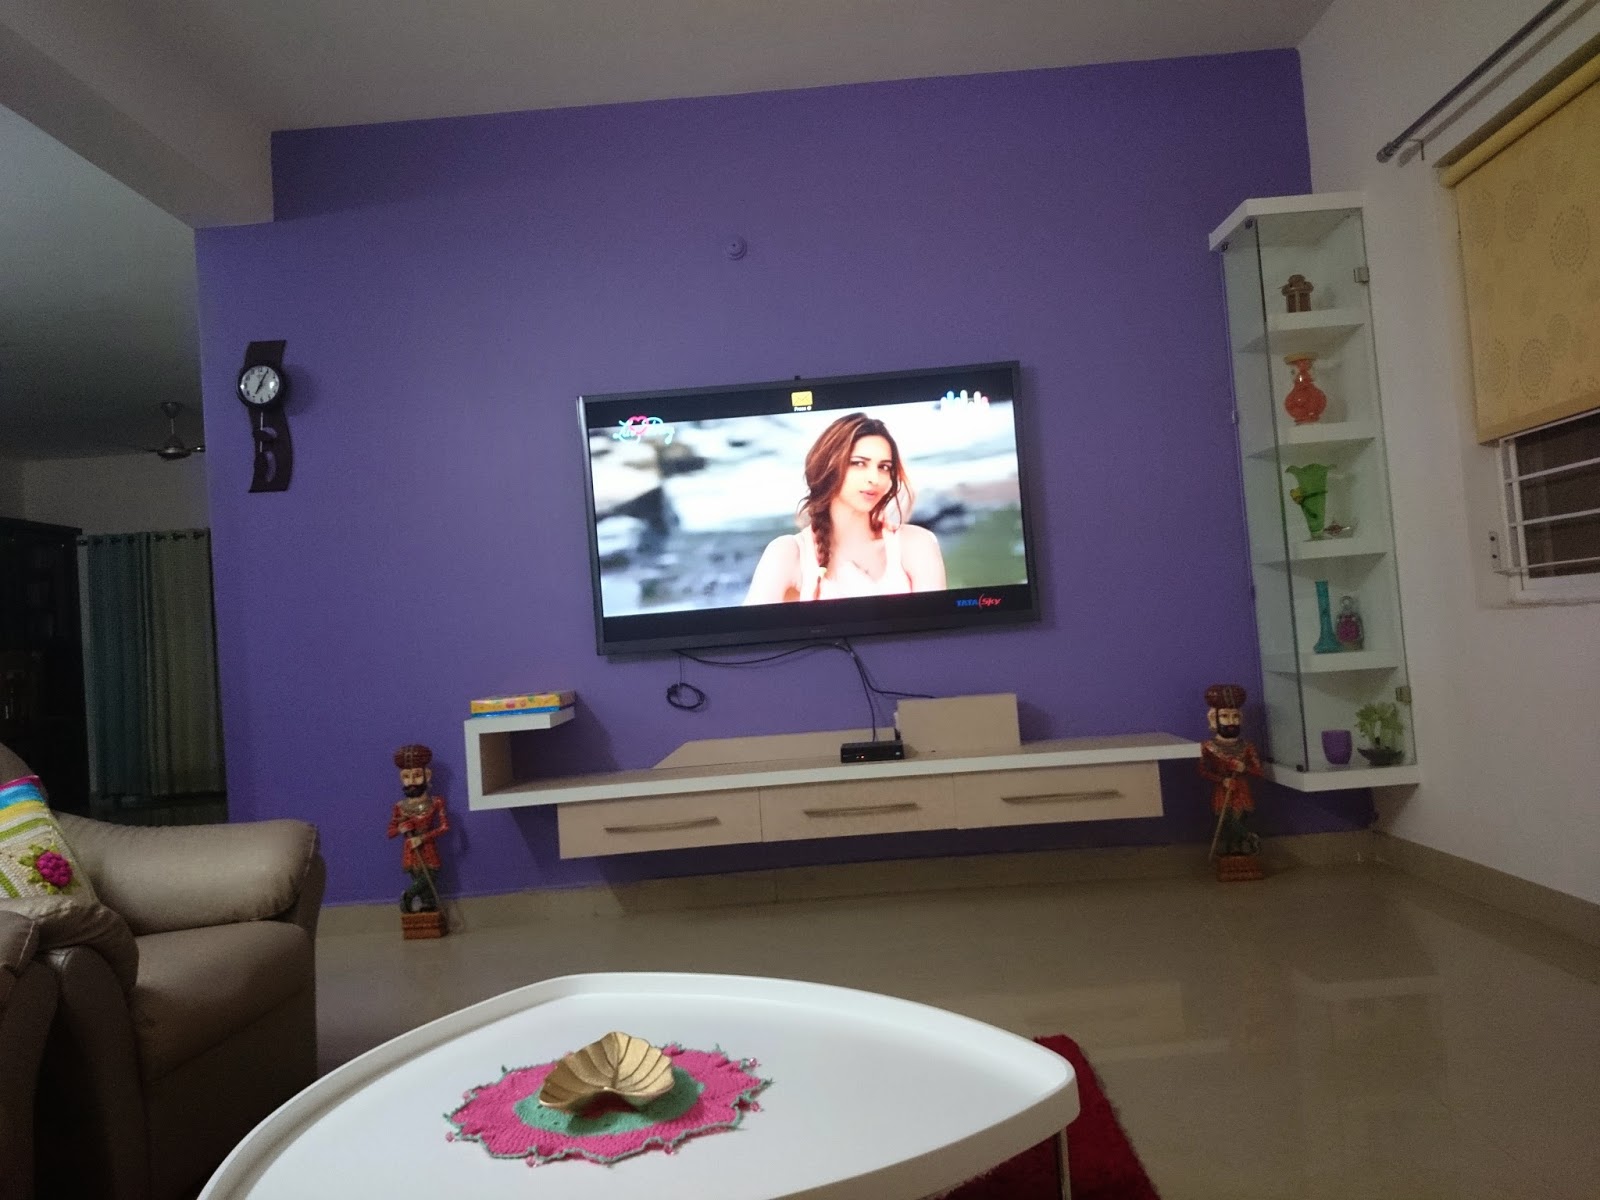
Drawing room : It is plain and simple .

I kept the showcase unit small and trendy on the right corner . We did not want any wooden panelling for the 64" TV rather we wanted the wall to have different color . There are few fittings to be done to hide those dangling wires .

I posted here about the corner unit having focus lights on the shelf than from the top . So any transparent thing, when kept, brightens up the shelf in that color. 

Anshita recycled a board game box into a decorative box to keep her headphones but those rarely went in there so I reused it for keeping 3D glasses that came with the TV . 

This is the old sofa with cover changed into grey. You can see my old one, all bright and beautiful here . Since we already colored the background wall for the TV, so we let the wall remain off white as was given. And since keeping a light colored sofa clean was a chore in itself and would not have suited the wall, we got it grey. It is an expensive textured leather, with two grey shades. Not visible here and I don't intend to work hard on close up images either :) The crochet cushions were recently made and you can see more clearly on this post .

This is the dining and living area. It has a little bit old style with Rajasthani style (antique royal) solid sheesham wood dining table which we got custom made . The blue crochet table runner is my favorite and I posted about it here . The flowers in my blog header were turned into this runner :)


The 17 feet by 9 feet library . This is the most favorite place for all of us :) The centre portion requires a huge painting which Raj wants it to be painted by three of us and that free day has never come so far .

The opposite side of library where we have one recliner for reading and stitching. The stand you see is iPad stand that Raj gifted me long back and it is one of the most used thing in stitching so far, of course, apart from needles and threads ...lol. You can see the stand with iPad on this post .

A small temple, we perform pooja (Hindu prayers) here daily morning .


Anshita's old bookshelf around 4 feet by 5 feet is now converted into crockery unit but not arranged so far . I have kept few of Anshita's Origami creations in it . I covered the bottom shelf with printed card stock to keep boxes that are not to be displayed

This is a designer wash basin opposite to the dining table, looks like made of bamboo sticks but it is a textured ceramic . We got some ancient style printed textured tiles on the wall in the background . When you touch it , it gives a feeling of proper ancient stone wall . We need to fix a mirror and a big flower vase . Hope I will get that completed next month .

Close up image of the wall

The front balcony : The dining area opens up into this 19 feet by 10 feet balcony space which is bigger than what I earlier had .

Since we stay on 7th floor, we cannot have a big garden area, but I just spiced it up with small picket fence :) There wasn't much growing at the time when I had taken these pics and right now also there are only few . Tired after shifting, I could not give enough time for gardening. You can see my few gardening adventures in old flat here and here .

This is the opposite corner which I utilized for keeping small ceramic pots. The stand is made of laminated plywood, parts of which were left overs from our bedroom shelves. I am happy, I tried reusing many such small things .


Do you see the purple petunia in the orange pot and the Coleus in the brown pot down at the end ? They went on to grow this much . 


I grew this Coleus from tiny seeds, it was a slow and patient journey to this level and I am proud to have it still alive in my tiny garden :)

Here are few more flowers 


These roses, though small, have a real perfect rose smell .

Hope you enjoyed seeing the pics :)

Have a great week ahead!
Preeti


Monday, 13 April 2015

Interlock crochet purse !! :)

Thank you for your kind comments on my previous posts !! As usual, I lost the rhythm of replying to you . I will try to improve my performance on that front .

I started making this purse for my mother last year in April . She needed one to just keep her specs and house keys while going to the park in the residential complex to meet her friends . For one or the other reason, I have been putting off the finishing part . But now here it is !! It is simple , but I like it :))

Interlock crochet purse
I have used interlock crochet technique , the zigzag design. From now on, the post is mostly about the crochet techniques . You may just skip the text, oooh and aahh over the pics, and directly pour your feelings into the comment section :) I am too selfish to let you pass over me without commenting.....lol :)
This is the back side of the purse . 
I made a square piece with the design using two colors , light pink and dark pink . And then, folded the square into half (just to measure how big , not joined by this time ). It will look similar to above picture without the sides joined .

Then I crocheted the flap using SCs with dark pink .
After that, I laid the entire piece (now rectangular) flat and crocheted one round of SC around (leaving the opposite side of the flap as light pink only)  giving a slight rounded edge to the flap ends.

Then I folded the design part again into half to adjust with the flap . For each side of the purse, joined the two layers with the slip stitch .  And the basic purse will be ready !! :)

The thread that I used is a local branded purse thread (braided thread) and 3.5 mm hook  . It is a very shiny thread and you can see the texture in the above image . The purse measures 9 x 4 inches .

I made the inside lining separately and hand stitched onto the top opening of the purse . I did not sew the lining to sides or bottom so that it can be pulled out and cleaned if required .

I added 4 press buttons inside to close and then three show buttons on the front . My mother chose these matching Gingham print buttons from my stash .


Resources to learn interlock crochet :

I referred to these two sites :

1. The below link is a dedicated site for interlock crochet and takes you to the basic tutorials . If you scroll down the video titles you will get the zigzag design pattern link .

http://www.interlockingcrochet.com/video-tutorials/interlocking-crochet-video-tutorials.html?start=15

2. I also referred to the instructions mentioned on the below blogpost . They are very neat and clear .

http://illhookyouup.blogspot.ca/2013/08/a-beginners-guide-to-interlock-crochet.html?spref=fb


It is boring to make a swatch but I will suggest that if you are doing interlock crochet for the first time, then try a small swatch first .

Hope you liked the purse , my mother is glad to have it !! :)

Have a nice day !
Preeti :)


Friday, 3 April 2015

Messy-to-Classy and some stitchy progress :)

It is time for my Messy-to-Classy . I am still working on untangling the stuff I have rather than targeting the entire craft room . This month I rearranged a box and a drawer .

I needed a metallic thread for one of my projects and this wasn't so inviting at all .


So I just took these brats , pulled them apart and leashed them onto the bobbins . Better now !:)


The count of my small left over yarn balls is increasing and I think I should now plan some stash busting projects .

before

after
I like seeing things organized, even though  they again get messed up very soon :)

I have dedicated first week of every month for my kitty litter project only . It is no less than an HAED and unless I put in more time, its going to be a forever project .


At least now it looks like a cat . I will do the back stitching once the adjacent cats are stitched . I start from the middle of the chart and work outwards .

Back stitching, though give interesting results, yet it is a hardworking task like weaving-in yarns in crochet . And for this big project, I guess I should start back stitching when certain amount is done . But again , I have read that some stitchers do back stitching after they wash the completed project . Also , I have recently started using these 8"x8" Q-snap frame . Will that affect back stitching when I roll the fabric ? What do you say?

I usually do not use frame because the local aida fabric that I use is soft and I stitch in hands . I cut the fabric, hem it, then I soak, rinse, dry and then iron it . The Dimensions kit fabric isn't soft and so I started using Q-snaps . I did not find it convenient to use it in the beginning but now I am getting used to it .

My progress on LadyBird fairy by Joan Elliot is also satisfactory . I did a little bit of skirt and the green shades .


I have opened the April-May link for 'Messy-to-Classy' . If you happen to reorganize your stash/crafting area, please do share .

Have a nice weekend!
Preeti


Related Posts Plugin for WordPress, Blogger...